
Last updated September 20, 2026
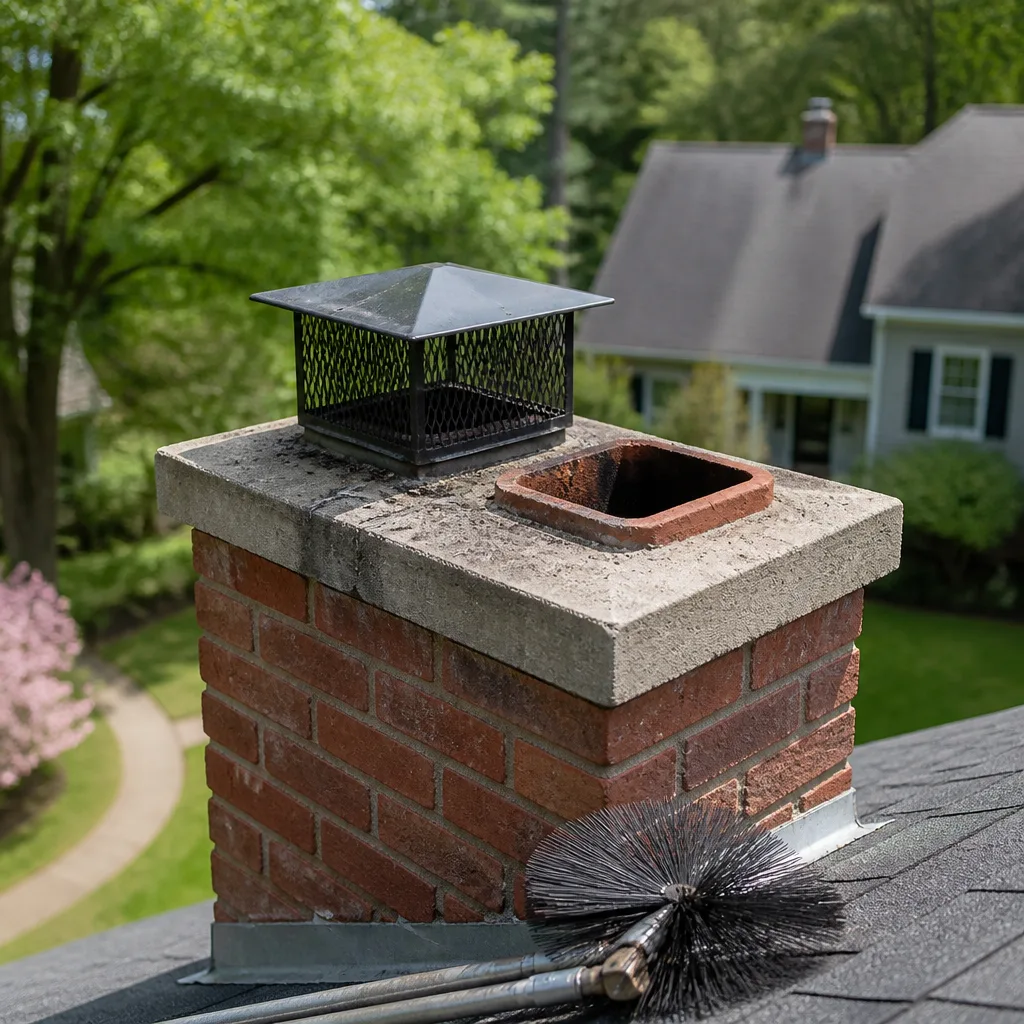
Level 1 sweep and inspection to the NFPA 211 annual standard - flue, crown, cap, and flashing checked and photographed
Chimney sweep logs do not sweep chimneys. They loosen some creosote - which then falls where a brush and vacuum still have to collect it.
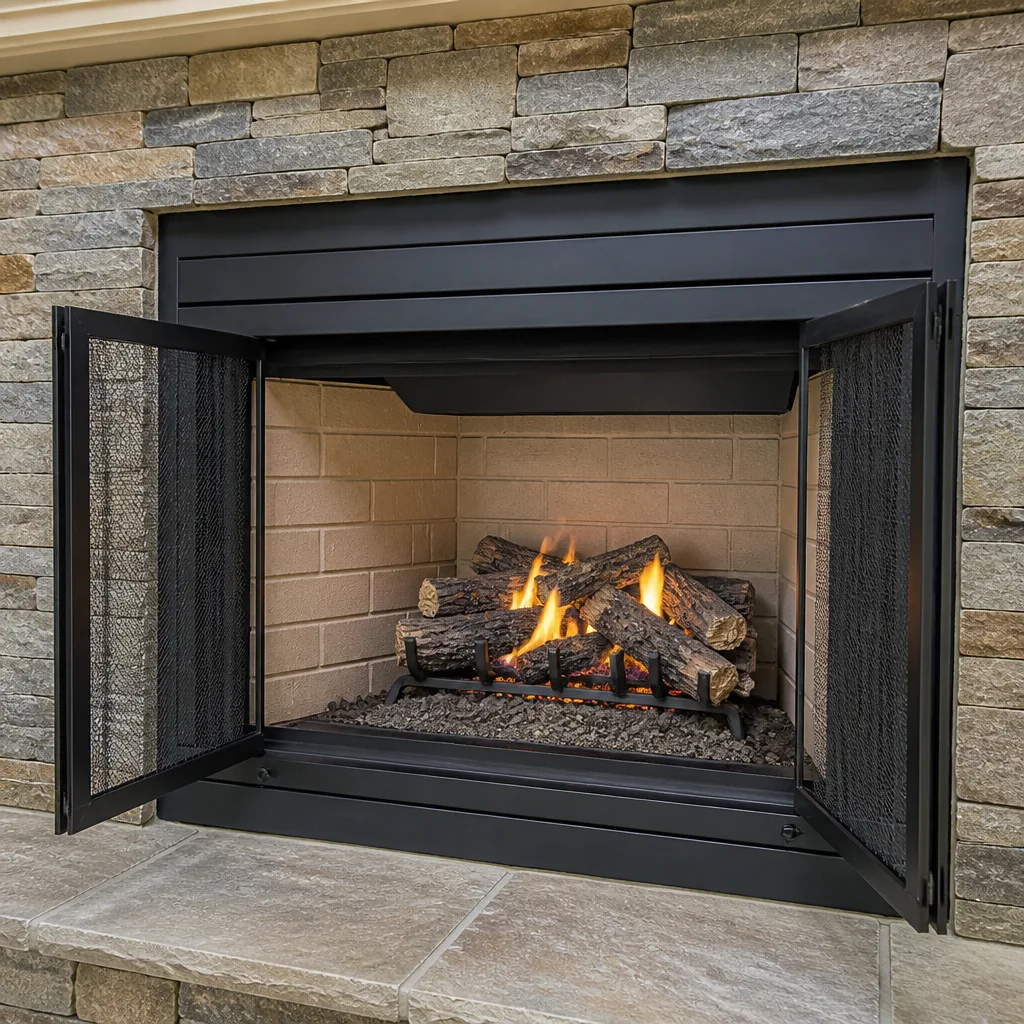
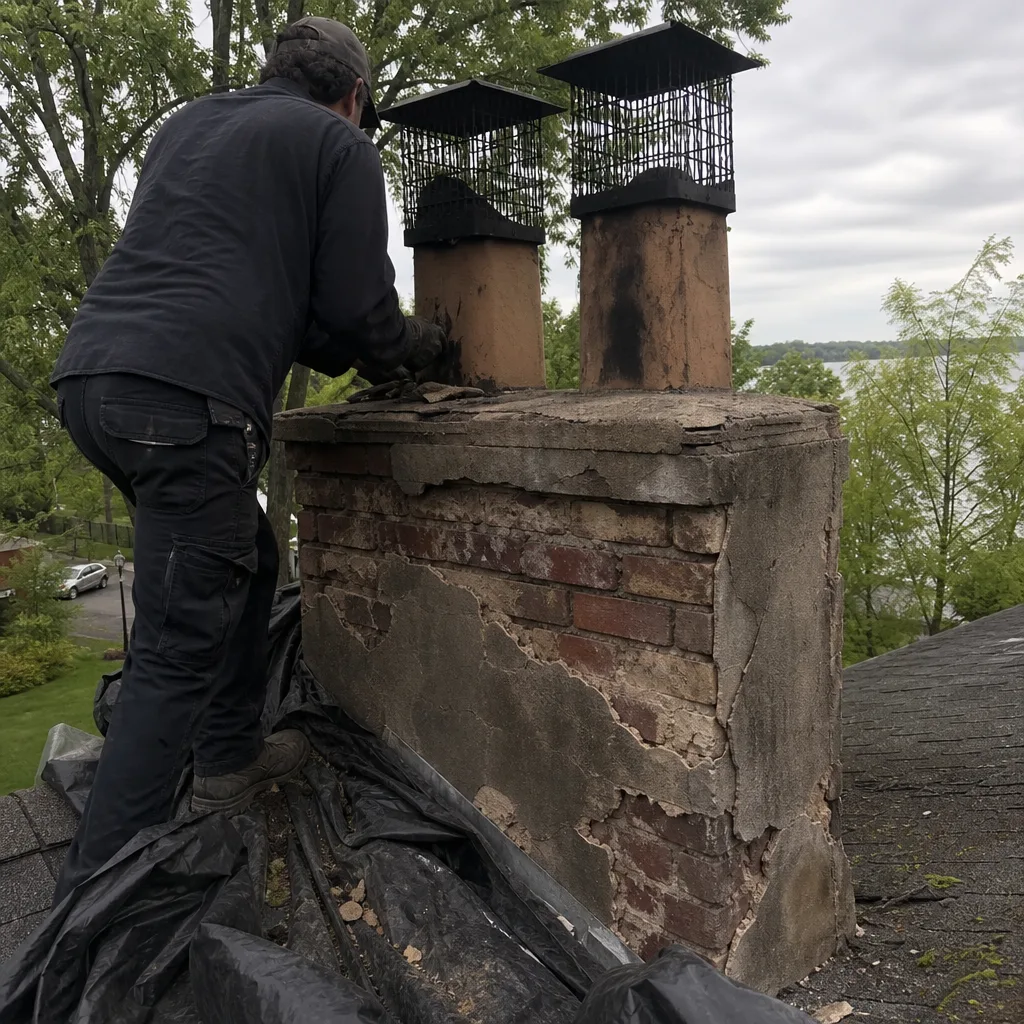 Before
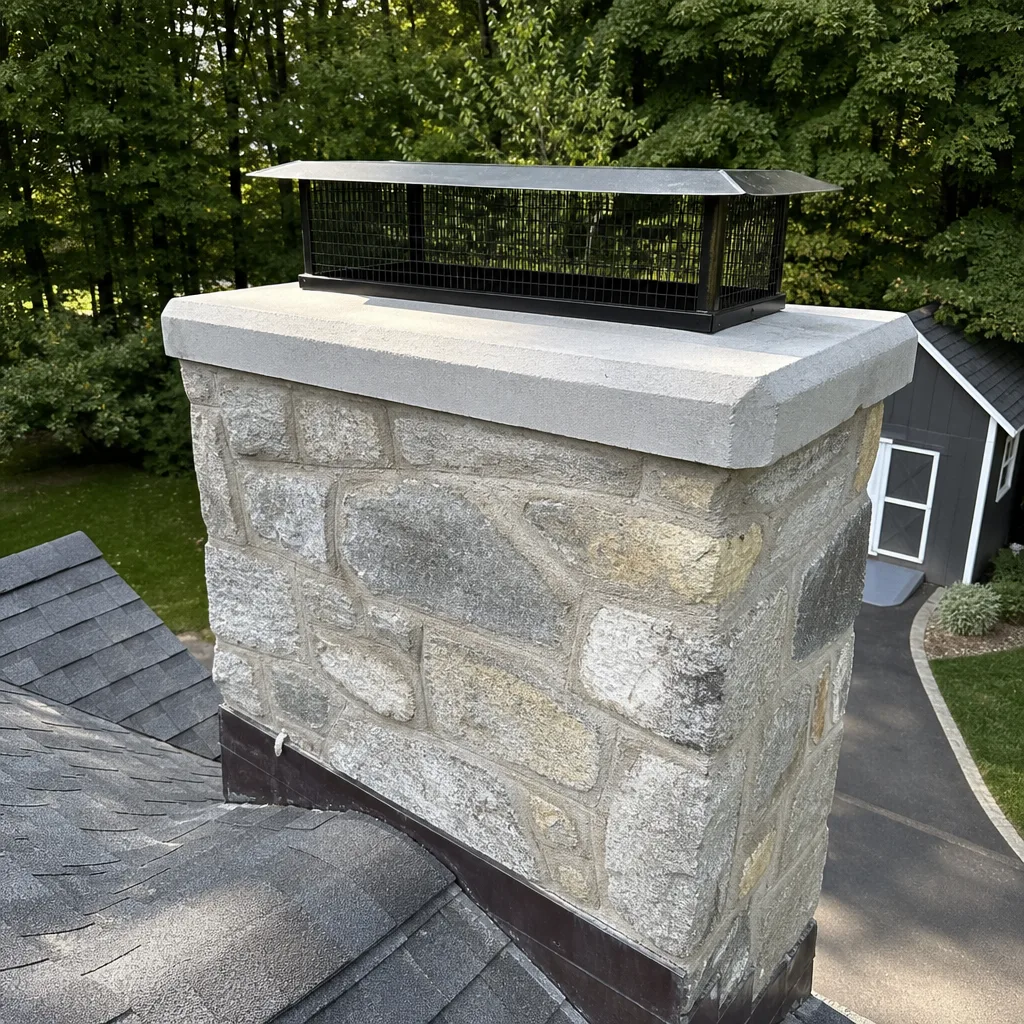 After
After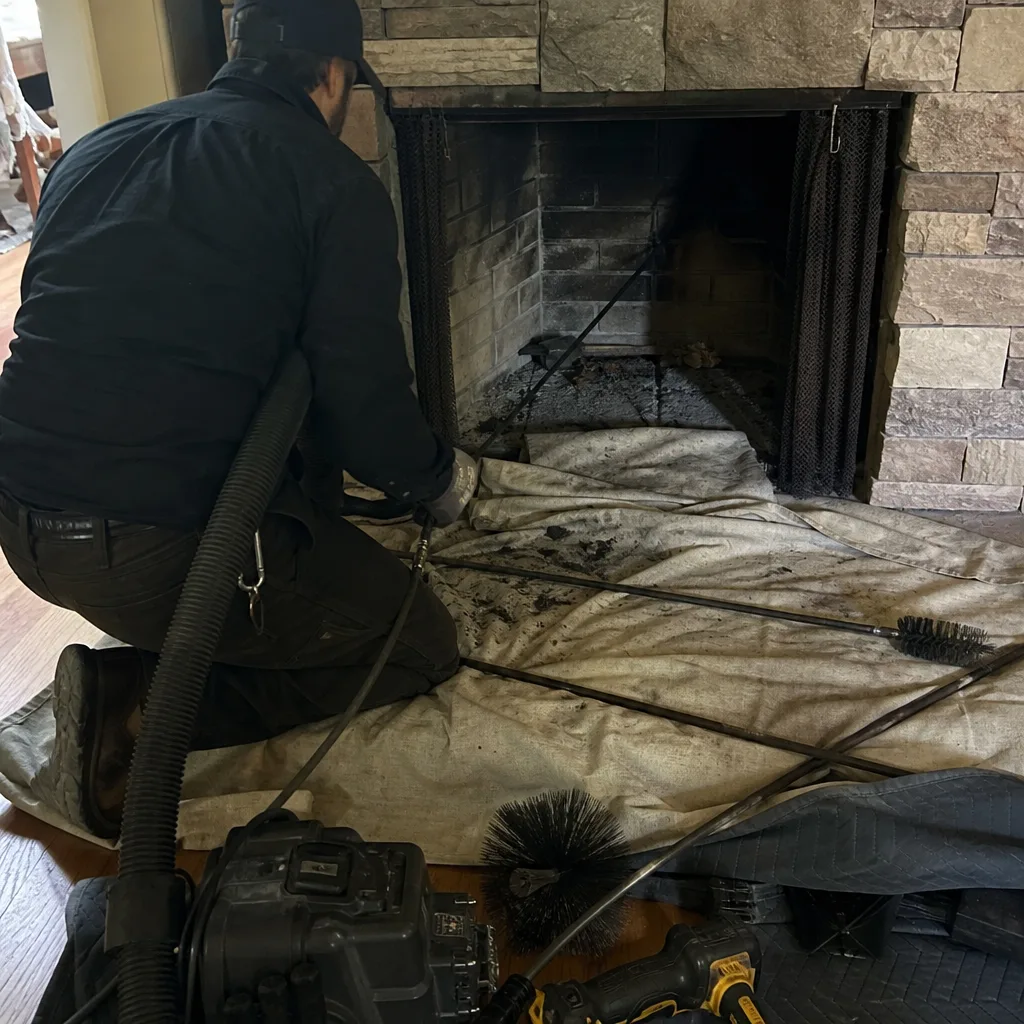 Before
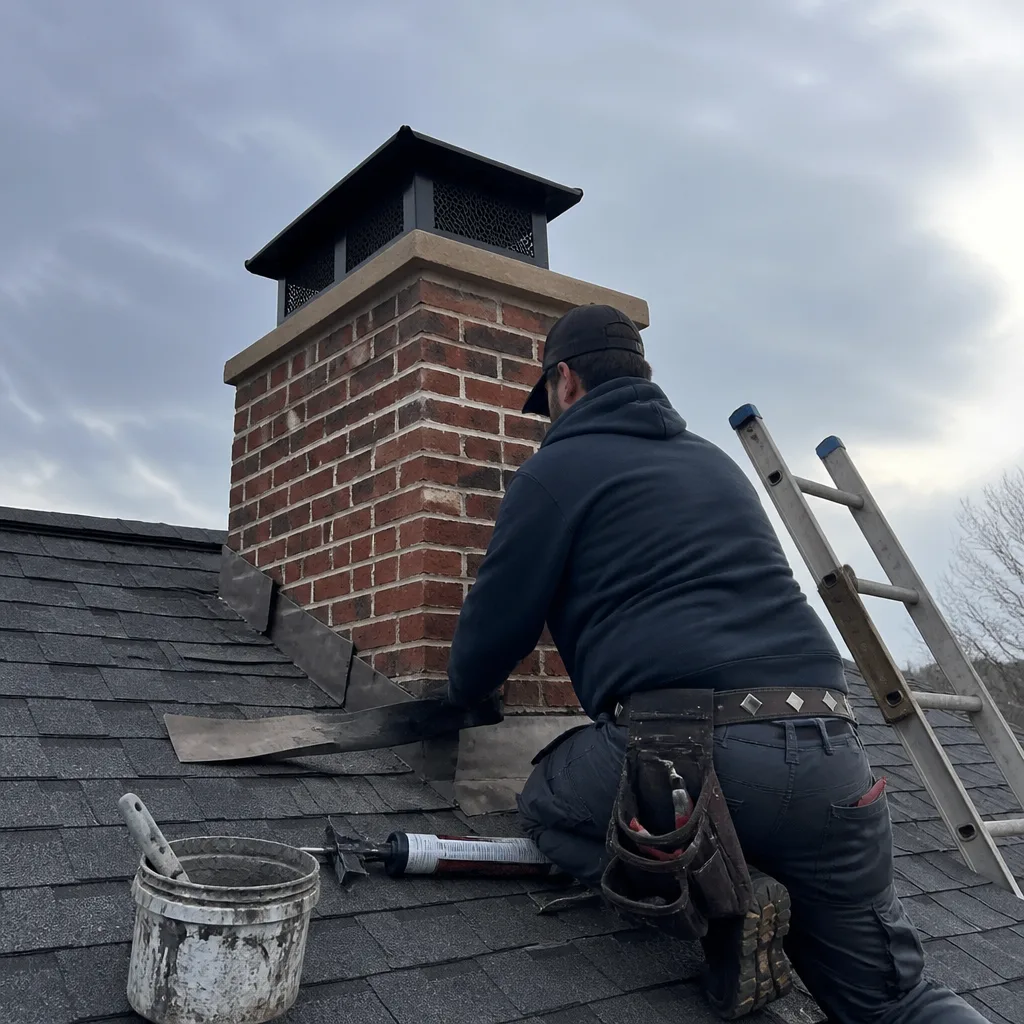 After
After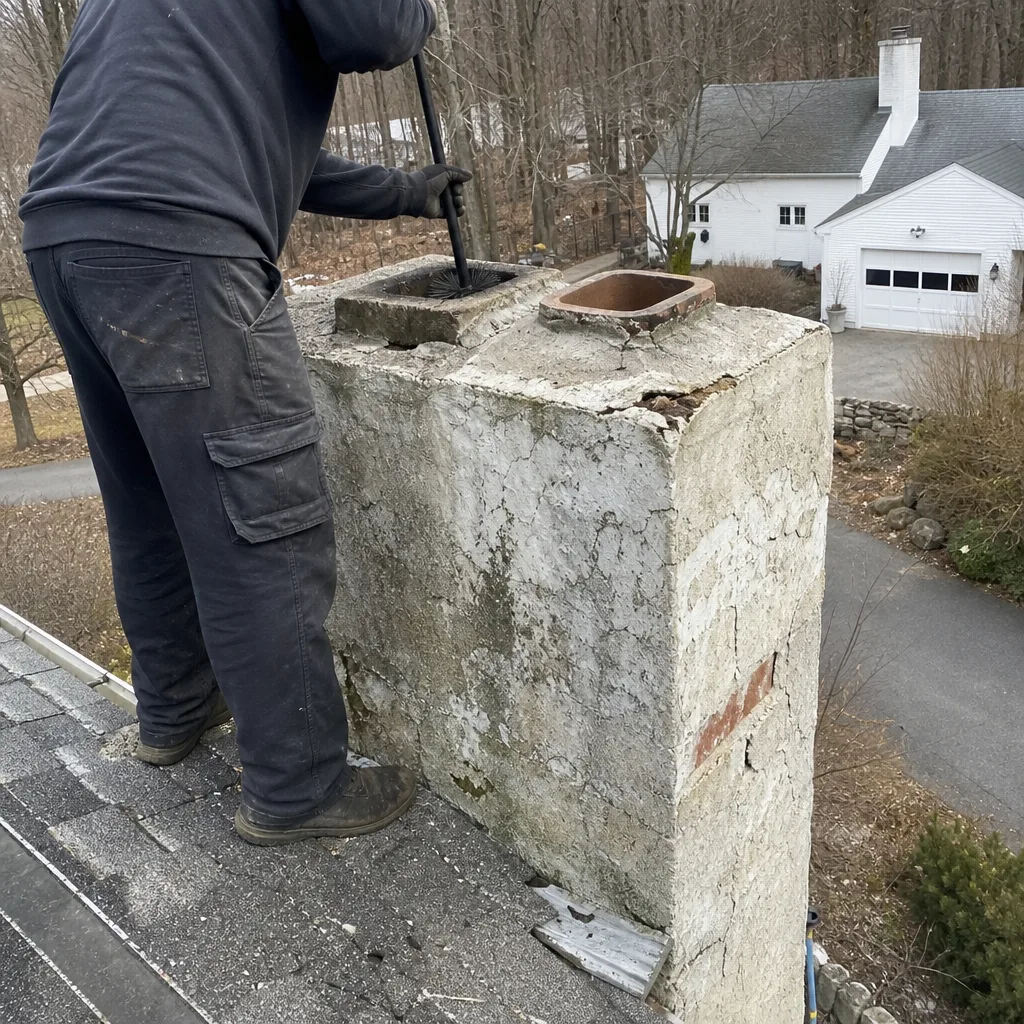 Before
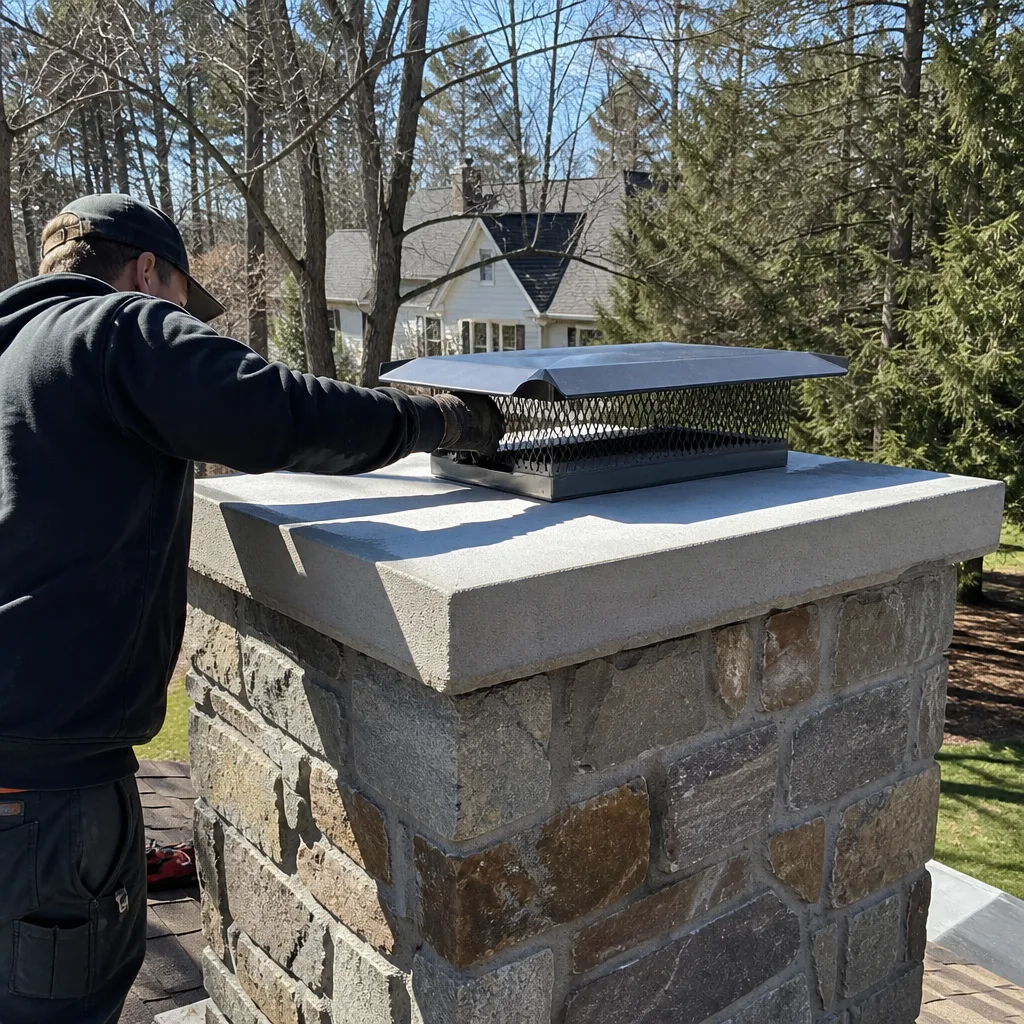 After
AfterChimney Cleaning & Sweep Maintenance Checklist for Greenwich Homeowners
Most chimney maintenance checklists circulating online were written by companies that benefit when you don’t actually know what you’re looking at. They tell you to “schedule annual cleaning” and “check for visible damage,” then leave you with no pass/fail criteria, no documentation standards, and no way to verify whether the person who showed up actually did anything beyond making a mess. That’s worse than useless - it’s a false sense of security. This guide is different. It’s built around measurable conditions, documented thresholds, and the specific realities of burning wood in Greenwich, CT, where coastal humidity, freeze-thaw cycles, and older housing stock create failure patterns you won’t find in a generic national checklist. You’ll learn what to inspect, how to judge whether it passed, what documents to demand, and when a chimney that looks fine is actually a Class III creosote situation waiting for one hot fire.
Quick Answer
A Greenwich chimney maintenance checklist should cover three phases: pre-season inspection (August-September), mid-season verification for households burning more than two cords of wood (January-February), and post-season shutdown (April-May) when freeze-thaw cycles begin cracking any mortar that absorbed winter moisture. For a deeper look at what to watch for, see our Chimney Cleaning Warning Signs: A Greenwich Homeowner’s Reference Guide. Every phase requires three documented outcomes: a written condition report with pass/fail criteria for the cap, crown, damper, and visible liner; photographic evidence of what was found; and a written scope of any follow-up work with pricing attached. If your sweep company can’t produce those three things, you didn’t get a maintenance visit - you got a brush run.
Table of Contents
- Pre-Season Checklist: What to Verify Before Your First Fire
- Mid-Season Checks: When Two Cords of Wood Changes Your Schedule
- Post-Season Shutdown: Greenwich’s April-May Freeze-Thaw Window
- Post-Storm Exterior Checklist: What Named Storms Do to Greenwich Chimneys
- The Documentation You Should Walk Away With Every Time
- Creosote Classes Explained: What Each Stage Means for Your Chimney
- What You Can Check Yourself vs. What Requires a Camera
- Common Mistakes to Avoid
- When to Call a Professional
- Frequently Asked Questions
- The Bottom Line
BeforeAfterPre-Season Checklist: What to Verify Before Your First Fire
The pre-season window in Greenwich runs from mid-August through late September. That’s when you want a chimney cleaning and sweep in Greenwich done, because you’re ahead of the October rush and any repairs get cured before temperatures drop. But the cleaning itself is only one part. A real pre-season checklist itemizes observable conditions with pass/fail thresholds, so you know the difference between “looks okay from the ground” and “documented as clear.”
Here’s the list every Greenwich household should work through before that first fall fire:
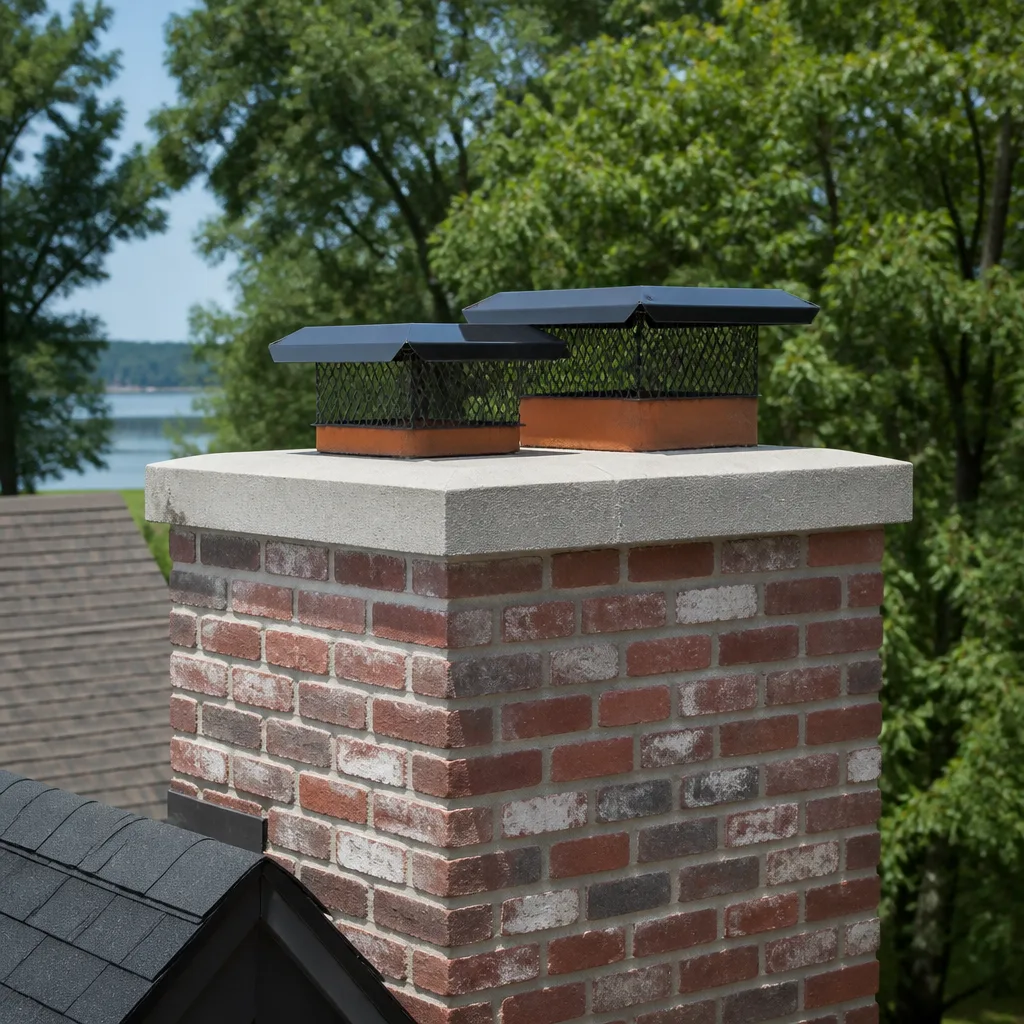
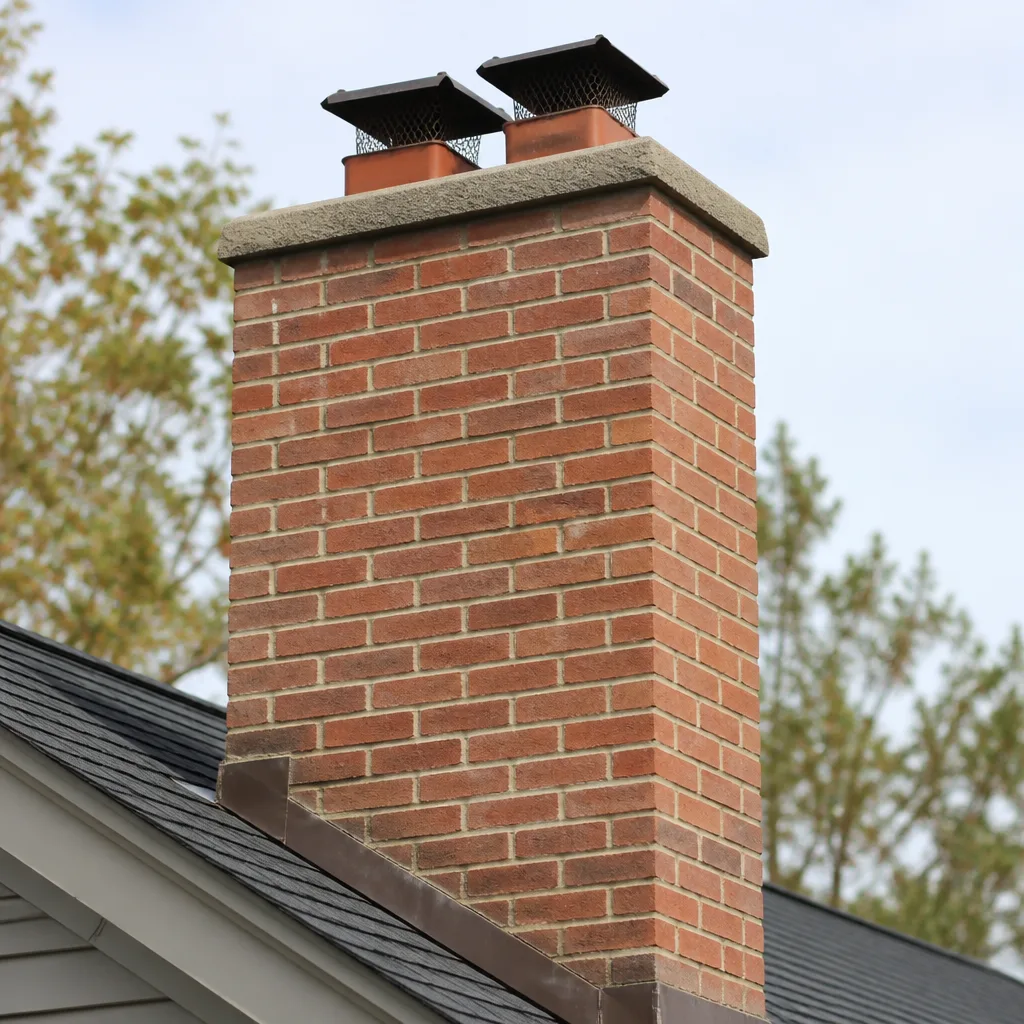
- Cap integrity: A stainless cap should sit level, show no rust-through, and its mesh sides should be intact with no gaps larger than 5/8 inch. If the cap is missing, warped, or the mesh is blown out, you’ve got open access for rain, birds, and - in Greenwich’s wooded neighborhoods like backcountry and mid-country estates - squirrels and raccoons. Fail = replace before burning.
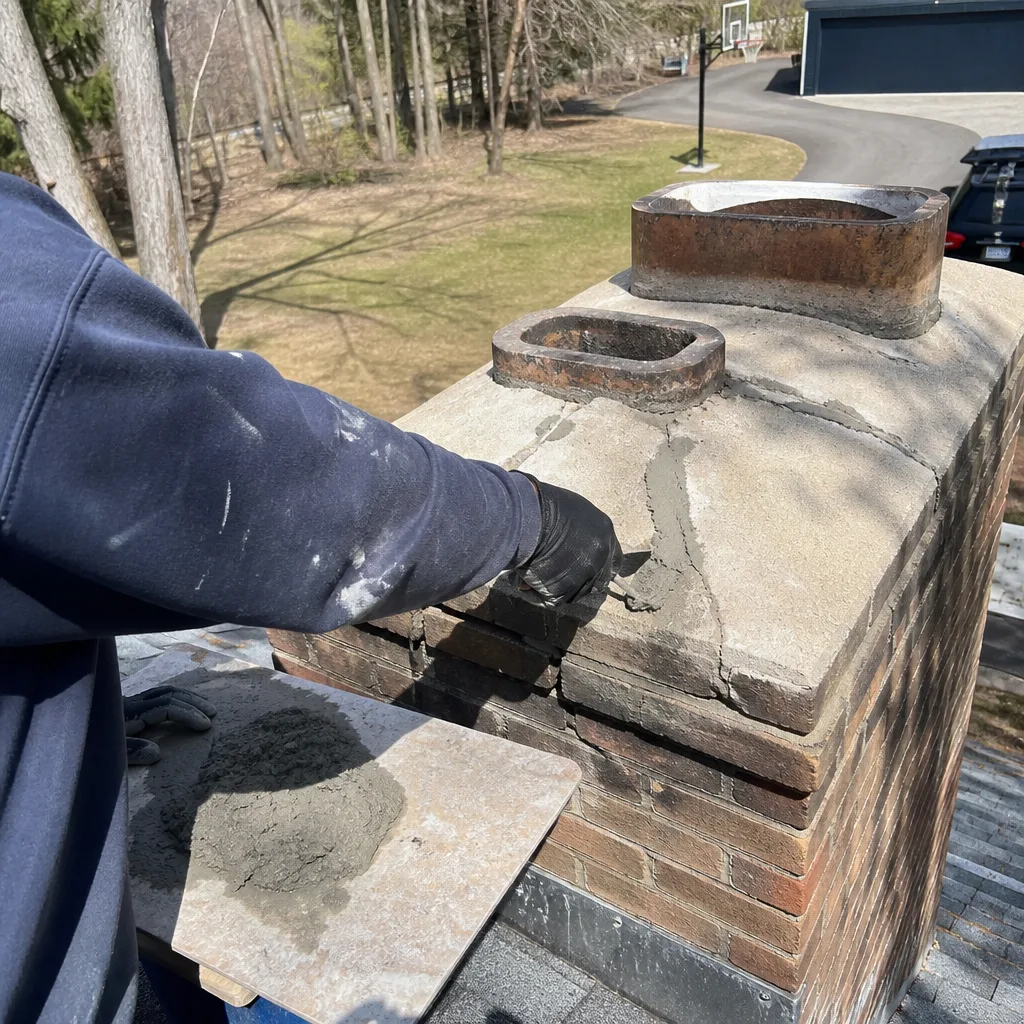
- Crown condition: The concrete crown (the slab sealing the top of the masonry) should be free of cracks wider than 1/8 inch and should overhang the brick by at least 2 inches. Hairline cracks are normal; anything a dime can drop into is a moisture entry point. In Greenwich, where winter freeze-thaw cycles run from November through April, a cracked crown means water expands inside the masonry and accelerates spalling - the flaking and popping of brick faces you see on older chimneys in Old Greenwich and Cos Cob.
- Damper movement: Open and close it fully. It should move smoothly, seat completely when closed, and show no warping or rust-through on the plate. A damper that sticks or won’t seal lets heated house air escape year-round and lets cold air dump into the room on windy nights. It also traps creosote condensation on the metal, which becomes a sticky, tarred mess by spring.
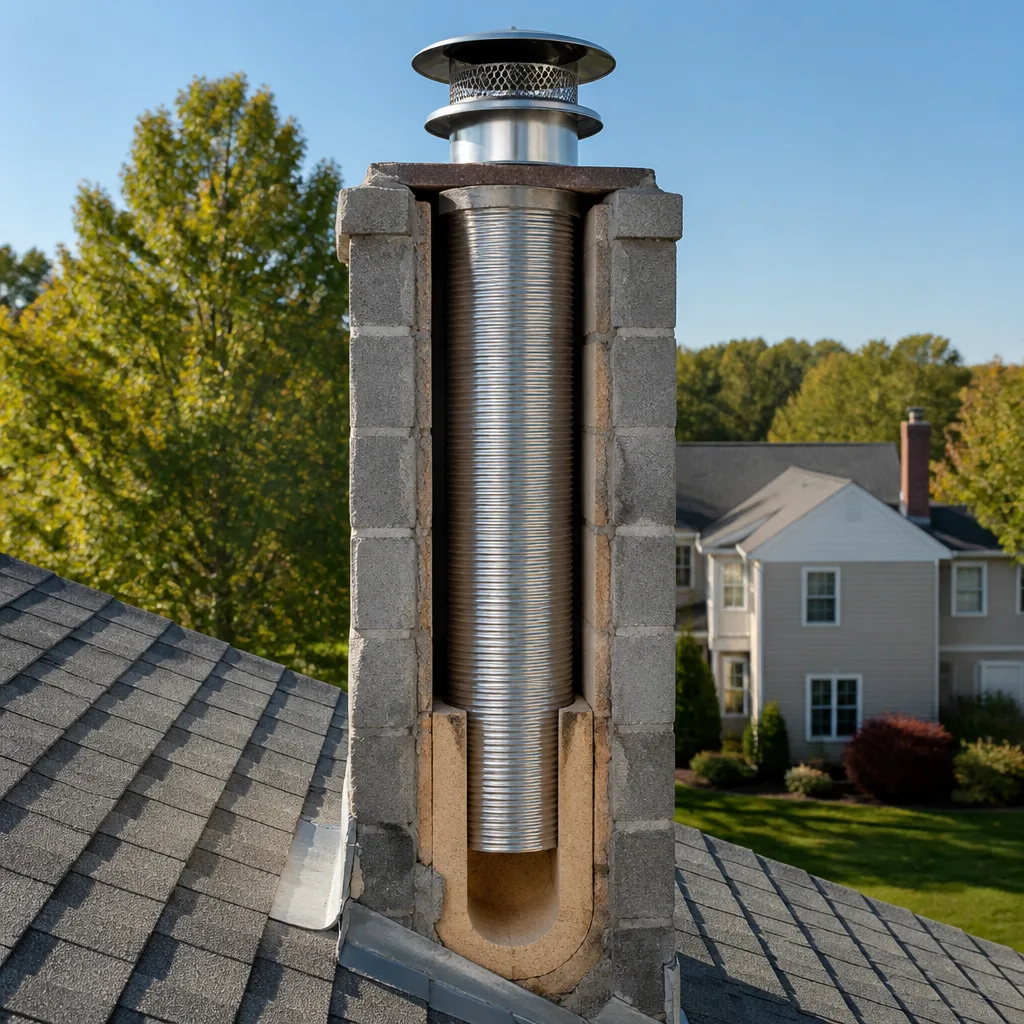
- Visible liner from the firebox: Look up from your firebox with a bright flashlight. You should see tan clay tile or stainless steel. If you see gaps between tile segments, a stair-step crack pattern, or a dark, tarred, shiny glaze (which means Class III creosote - more on that below), the liner has failed or is close to it. This is where chimney repair in Greenwich enters the picture: a failed liner is a carbon monoxide pathway into the house, not just a cosmetic issue.
- Smoke chamber surface: The area just above the damper should look clean, with no thick creosote accumulation and no loose mortar. Chamber parging (the smooth mortar coating) that’s flaking or missing exposes the underlying brick, creating shelves where creosote collects and where a chimney fire can take hold.
- Firebox brick and mortar joints: Check the walls of the firebox itself. Crumbling mortar joints deeper than 1/4 inch or bricks that move when pressed are a structural concern. In Greenwich’s older Colonials and farmhouse styles built before 1960, lime mortar used originally is softer than modern Portland cement, and it degrades predictably. The fix is repointing with compatible mortar, not overlaying with the wrong material.
Every one of those items needs a pass/fail call in writing. That’s the standard we’ve held since 2009, and it’s written into Clause 4 of the Haven Standard: a camera-scan inspection with a documented photo record on every visit. If the company can’t show you photos of the cap, crown, damper, liner, and firebox when they’re done, they didn’t actually check them - they just told you they did.
Mid-Season Checks: When Two Cords of Wood Changes Your Schedule
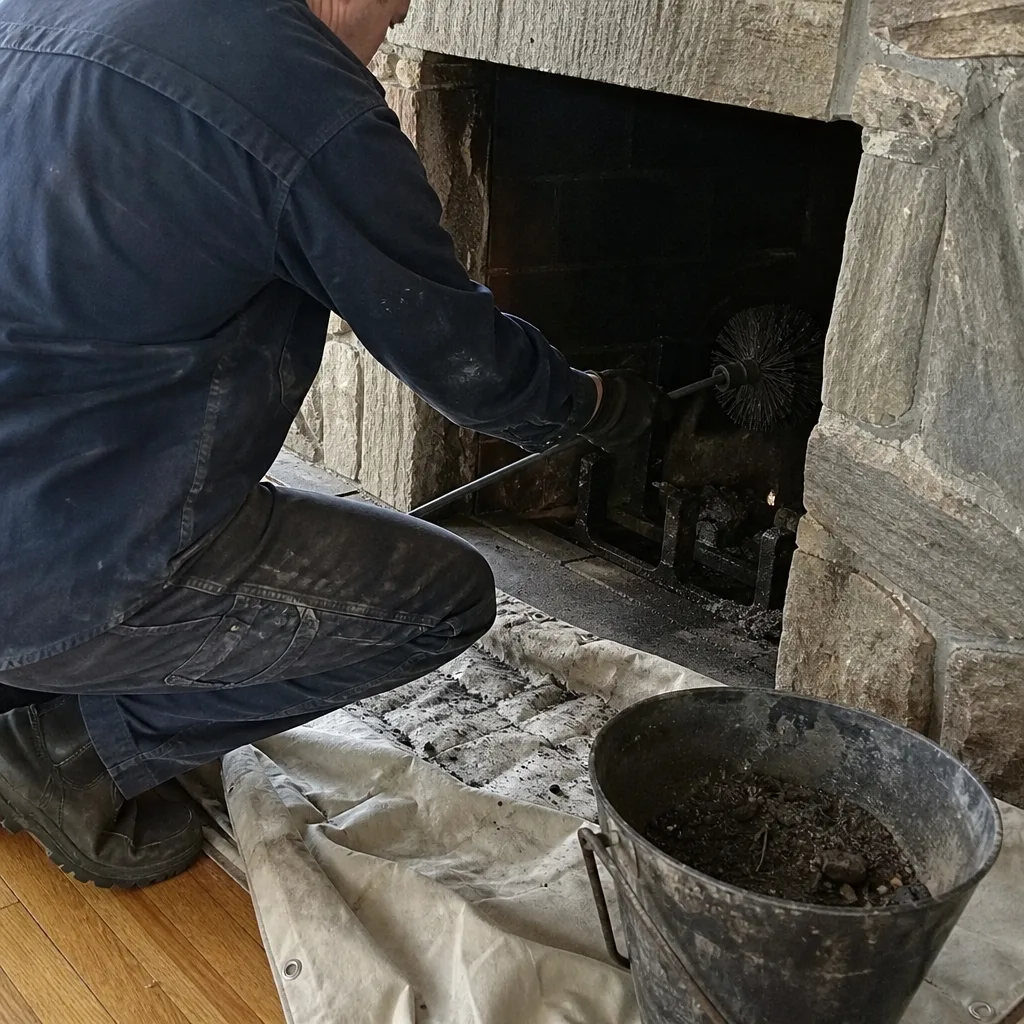
Here’s a number most annual-schedule advice never mentions: two cords. If your Greenwich household burns more than two full cords of firewood in a season, an annual cleaning schedule doesn’t keep pace with creosote accumulation. That’s not opinion - it’s simple math. Seasoned hardwood produces creosote at a predictable rate, and two cords over a five-month Connecticut burn season puts you at the threshold where glaze-stage creosote can develop before the next scheduled sweep.
For homes in the backcountry with large fireplaces running as primary heat sources between November and March, or for families in Riverside and North Mianus burning daily fires six nights a week, the February check is not optional. It’s the difference between catching a problem and having a chimney fire decide the schedule for you.
A mid-season check should cover:
- Creosote depth measurement: This should be taken at three points - above the damper, mid-flue, and near the top. Anything over 1/8 inch of accumulation means cleaning is due, regardless of when it was last done. Glaze-stage (hard, shiny, tar-like) creosote at any depth is a clean-now condition, because glaze is the fuel that sustains a hot, self-feeding chimney fire.
- Burn behavior changes: If the fire suddenly won’t draw, the room fills with smoke, or the fire burns “lazy” (lots of smoke, low flame, excessive popping), something changed in the flue. It could be creosote narrowing the passage, a partial nest blockage, or a cracked liner. None of these resolve on their own.
- Damper operation under mid-season use: Creosote condensation can gum damper hinges even if the damper moved fine in September. If the damper starts sticking in January, that’s accumulated tar, not cold metal.
- Downstairs vs. upstairs stack effect: In multi-story Greenwich colonials, mid-winter temperature inversion can cause downdrafts in chimneys on lower floors while upper floors draw fine. If downstairs fires start smoking in February when they didn’t in November, the cold flue is fighting the warm upper floors. The fix is either a chimney cap with better draft characteristics or, in some cases, an interior liner replacement to reduce flue volume.
If you burn more than two cords, talk to your sweep company about a February verification visit. It’s shorter than a full cleaning - camera, creosote gauge, cap check - but it answers one question: is the flue still safely usable for the remaining eight weeks of burn season? In our experience with Greenwich homes, the answer about 20% of the time is no, and that’s a meeting you’d rather have in February than at 2 a.m. during a chimney fire.
Post-Season Shutdown: Greenwich’s April-May Freeze-Thaw Window
Post-season care is where Greenwich’s climate does its most expensive work. The shoulder season from April through May is when freeze-thaw cycles do what winter alone couldn’t. Water that seeped into hairline mortar cracks during December and January froze, expanded, and widened those cracks. Each cycle opens them a little more. By April, the damage is visible - and by May, the cycle starts to close as temperatures rise, hiding the cracks until next winter makes them worse.
The Greenwich-specific post-season ritual should happen in early April, not late May. Here’s the shutdown checklist:
- Schedule the post-season camera inspection while freezes are still occurring. You want to see the cracks at their widest, before warm weather closes them up. An inspector who looks at the crown between freeze events will document damage an August inspection will miss.
- Close the damper and leave it closed. This seals chimney drafts out of the house and prevents humid coastal air from circulating through the flue all summer. In Greenwich, where summer humidity runs high, condensation forms inside unused flues every time a cool night follows a humid day. That condensation accelerates creosote corrosion and mortar degradation.
- Clean the firebox completely. Ash is acidic. Left in the firebox over a humid Greenwich summer, it accelerates deterioration of firebrick and mortar. Remove it fully. Then set the damper to the closed position.
- Check the exterior mortar after the last hard freeze. Look for new spalling - brick faces popping off, leaving raw red clay exposed. Compare against your pre-season photos if you have them. New spalling means water is entering through a compromised crown, cap, or mortar joint somewhere above the damage point.
- Cap and screen inspection from the ground or roof. A post-winter check should confirm the cap survived the nor’easter season. Warped stainless, torn mesh, or a cap that’s tilted indicates wind damage or a falling limb. A damaged cap in April lets in squirrels looking for spring nesting, and Greenwich has no shortage of those.
- Apply water repellent if needed. For masonry showing absorption (you can test this by spraying water on the brick - if it beads, it’s still protected; if it soaks in darkly, the repellent has worn off), a siloxane-based water repellent appropriate for the brick type extends masonry life substantially. This isn’t a sealant; it lets vapor out while blocking bulk water. It matters more in Greenwich’s damp, freeze-prone climate than almost anywhere else in Connecticut.
Post-season is also the cheapest time to book fireplace services in Greenwich. Demand drops after April, materials are in stock, and masonry work cures under mild conditions rather than fighting the cold. If your inspection finds crown cracks or liner damage, addressing it in May means you’re ready for October without the fall rush.
Post-Storm Exterior Checklist: What Named Storms Do to Greenwich Chimneys
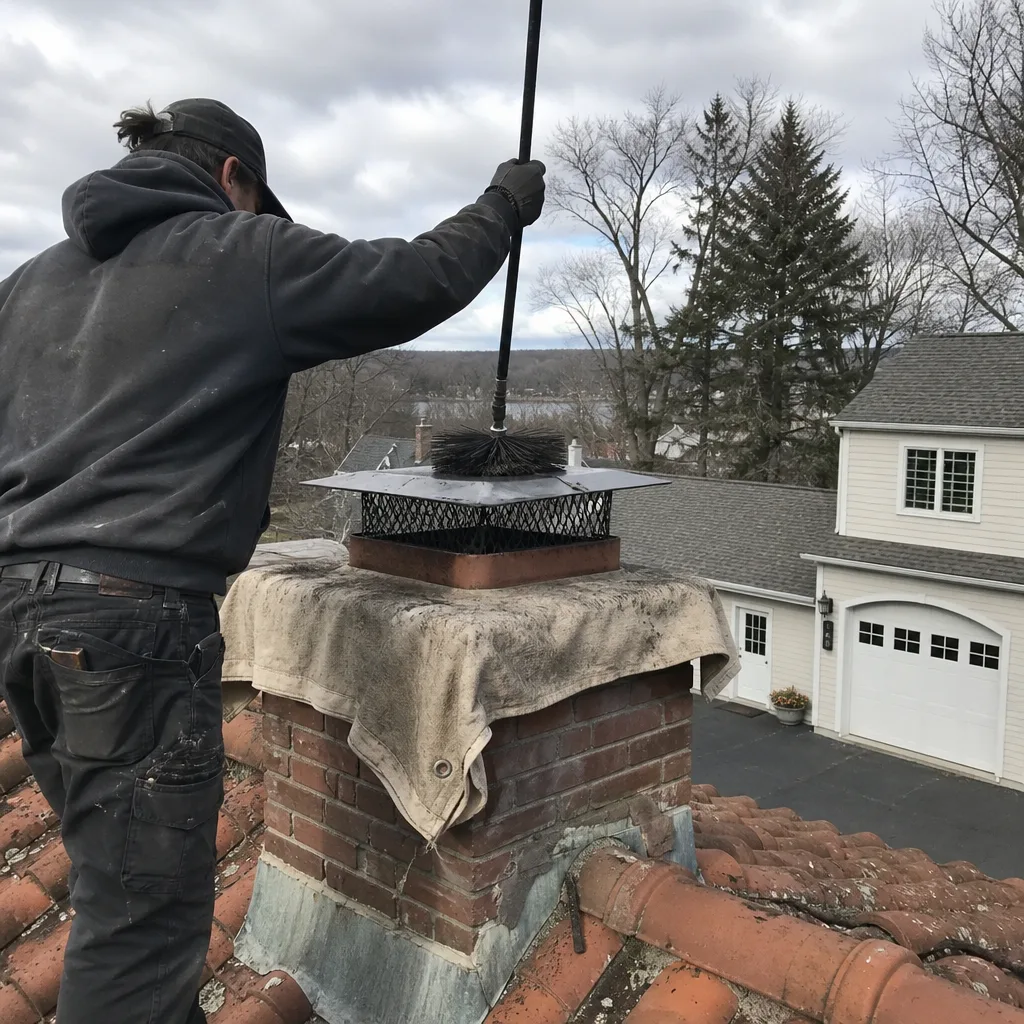
Greenwich sits on Long Island Sound, and every named storm that tracks up the Eastern Seaboard puts your chimney’s exterior in the wind field. The damage isn’t always catastrophic - more often it’s incremental, and that’s why we track it. A cap that shifted 15 degrees in a November nor’easter becomes a rain funnel by January. A crown hairline cracked by flying debris becomes a freeze-entry point by February.
After any storm with winds above 50 mph (roughly a strong tropical storm or nor’easter), walk the chimney from the ground with binoculars, or have someone qualified go on the roof. Look for:
- Cap displacement: Any tilt, gap between cap and flue tile, or visible bending. The cap is your chimney’s umbrella; a shifted cap is worse than no cap because it gives the illusion of protection.
- Crack propagation in the crown: Compare against pre-season baseline photos. New cracks radiating from the center or the flue tile edges mean the storm flexed the masonry.
- Loose or displaced brick: Brick that shifts but doesn’t fall is still a failure. It leaves a void where water enters and freezes, and it signals the mortar has lost its bond.
- Flashing separation: Where the chimney meets the roof, wind can lift flashing even when shingles are unaffected. A bent or lifted flashing corner channels water directly onto the roof deck and along the chimney chase. Greenwich homes with dormers and complex roof lines in Glenville and Byram see this frequently.
- Water staining around the chimney chase on the interior ceiling. If a storm was followed by rain and you see a new water stain around the chimney on the ceiling below, that’s active moisture intrusion. The chimney is the most likely source, but the roof-to-chimney intersection runs a close second. Both need checking before mold and rot set in.
For homes in the Old Greenwich and Shippan Point areas, salt exposure adds another variable. Salt spray settles on stainless steel caps and flashing, and without periodic rinsing, it accelerates pitting and corrosion. A cap that lasted 15 years inland may fail at 10 years on the coast. Include a visual check for salt pitting if you’re within a mile of the Sound.
The Documentation You Should Walk Away With Every Time
A chimney maintenance visit produces evidence, or it produces plausible-sounding narrative. We’ve built our entire operating standard around the premise that you deserve the evidence, and we’ve been doing it since 2009 - years before any industry regulator or insurance underwriter required it. That practice is now Clause 4 of the Haven Standard: a camera-scan inspection with a documented photo record on every visit, not as an add-on but as the default.
Here’s what your records should contain after each service visit:
- Service date and technician name. Not just a company name. A named human who performed the work. This matters for warranty enforcement and for continuity when a different tech returns next year.
- Method used. “Mechanical rotary cleaning with poly brush” or “chemical glaze treatment” - not “cleaned chimney.” Specific method matters because creosote at different stages requires different approaches, and “cleaned” doesn’t tell you whether the right one was used.
- Findings photo set. The cap, crown, damper, upper flue, mid-flue, lower flue, smoke chamber, and firebox. Each image should be timestamped and labeled. This is your baseline. Next year’s photos get compared to these, and that comparison is where you catch slow-developing problems before they become expensive.
- Condition notes with pass/fail for each point in the pre-season, mid-season, or post-season checklist. Not impressions - measurements, descriptions, and pass/fail decisions.
- Written scope and price for any recommended work. Not a verbal estimate. A written document describing exactly what needs to be done, what materials will be used, how the repair will be performed, and what it costs. This is Clause 1 of the Haven Standard: H.A.V.E.N., “Have it in writing” - written price, written scope, and written warranty delivered before anyone starts, never after the tech is already in your home.
- Written warranty. Scope of warranty coverage, duration, and what’s excluded. Not “everything’s warrantied, don’t worry.” A real warranty names what’s covered and for how long.
If you have multiple chimneys, every chimney gets its own record set. We’ve been documenting chimneys this way for 38,000+ inspections and cleanings since 2009, and the archive that practice creates is the single most useful tool a Greenwich homeowner has when something goes wrong. You can look back at three years of photos and see exactly when a hairline crack became a structural issue. That’s not nostalgia - that’s maintenance intelligence.
Creosote Classes Explained: What Each Stage Means for Your Chimney
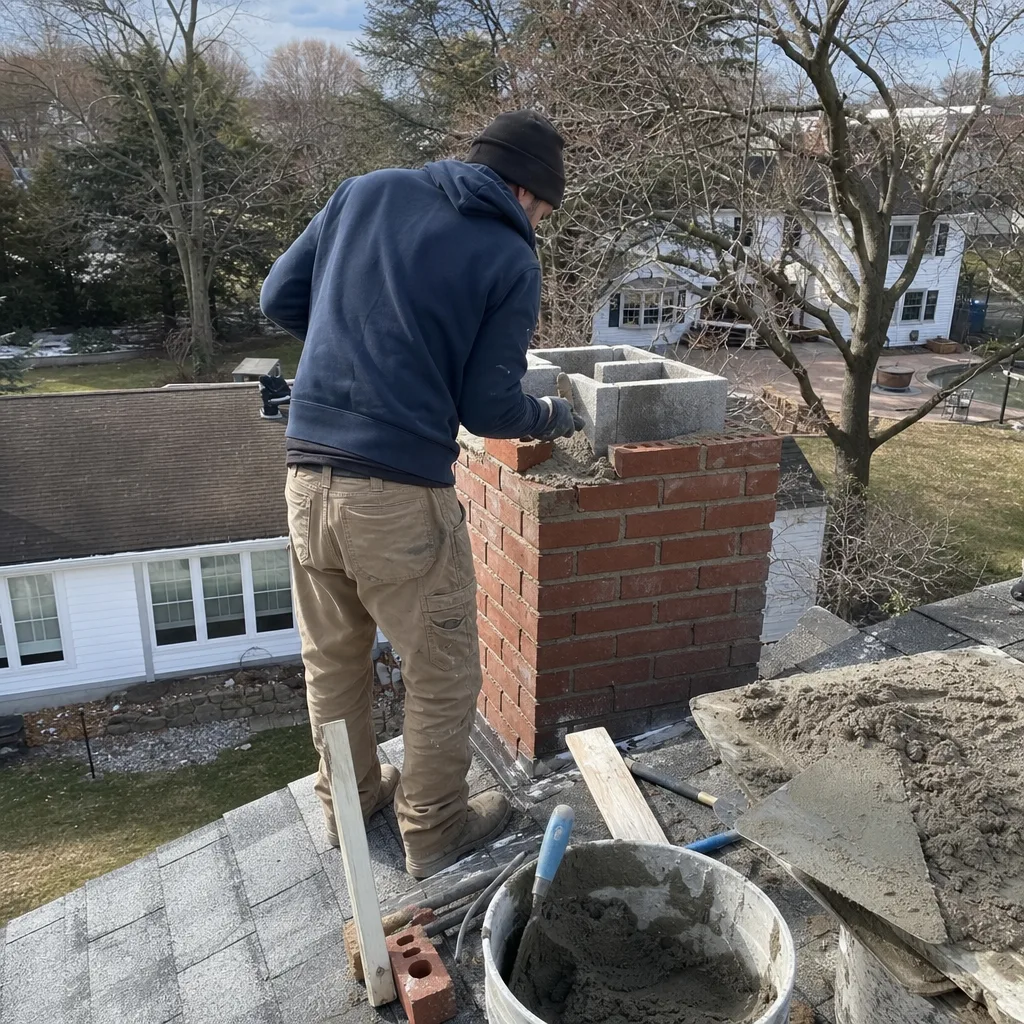
Creosote is the byproduct of incomplete wood combustion, and it’s present in every wood-burning chimney. What matters is the stage. The chimney industry recognizes three classes, and understanding the difference changes how urgent your next decision is.
Class I: Sooty Powder
Fine, black, powdery residue that brushes off easily. This is normal combustion byproduct from well-seasoned hardwood burned hot. It accumulates in any chimney and is removed with a standard brushing. If your camera inspection shows Class I only, and it’s under 1/8 inch thick, the flue is in normal operating condition.
Class II: Granular Flakes
Crunchy, shiny black flakes about the size of coffee grounds or pencil eraser shavings. This forms when combustion is less complete, often from slightly under-seasoned wood or fires burned with restricted air (damper mostly closed for overnight burns). Class II requires rotary brushing - hand brushes don’t reliably remove it - and it’s a signal to adjust burning habits: hotter fires, more air, better wood.
Class III: Glaze, Tar, or Slag
This is the one that gets our attention. Class III creosote looks like hard, shiny black tar baked onto the flue walls, sometimes with a dripped-candle appearance. It’s water-resistant, highly flammable, and once ignited, it burns at temperatures that crack clay liners, warp stainless, and can breach the flue. Class III doesn’t come off with a standard brush. It typically requires mechanical removal with rotary chains and often a chemical treatment to break down the hardened glaze first.
Here’s the part most checklists skip: you don’t get to skip a season just because a sweep happened last year. If you’re burning more than two cords of wood, or burning anything less than fully seasoned hardwood, Class III can develop in a single season. A Greenwich home that burned a cord and a half of green or semi-seasoned oak between November and March can have a glaze-stage flue by April. That’s not fear-mongering - it’s chemistry. Creosote condensation happens at flue temperatures below 250°F, and a smoldering fire with wet wood keeps flue temperatures in exactly that danger zone for hours at a time.
If your last inspection showed glaze, or you’ve burned more than two cords, book a camera verification before the next fire. The flue is the one part of your house you can’t see into, and the only way to know is to look.
What You Can Check Yourself vs. What Requires a Camera
Some parts of chimney maintenance are homeowner-appropriate. Others require a professional with a camera system, and the line between them is narrower than most people assume. Here’s the honest split:
You can check these yourself, safely and reliably:
- Visual exterior inspection from the ground with binoculars - cap presence, obvious crown cracking, spalling brick faces, general chimney lean. Note: in Greenwich, many chimneys are tall, built on older homes with steep rooflines, and exterior visual checks from the ground miss the back face entirely. That’s a limitation, not a reason to skip it.
- Firebox condition - visible mortar joint deterioration, cracked firebrick, shifted brick, accumulated ash that needs removal.
- Damper function - open, close, seat, rust condition, smooth movement. You can feel a bad damper.
- Burn behavior - smoke roll-out, lazy flames, excessive popping, unusual odors. Your nose and eyes are legitimate instruments.
- Post-storm exterior change - comparing what you see after a storm against photos from before. This only works if you have the before photos, which is another argument for documentation.
These require a professional with a camera system:
- Flue interior inspection - the entire length of the flue above the firebox is invisible from below. A camera reveals liner cracks, hidden creosote, flue tile separation, and internal blockages. There is no safe DIY equivalent.
- Creosote depth and classification - unless you have the gauge tools and know what glaze looks like up close, this needs a professional reading.
- Crown inspection from the roof - walking a Greenwich roof in fall or early spring is a job for someone with proper fall protection and the right insurance. The crown is the single most common source of moisture intrusion, and it’s the least visible from the ground.
- Smoke chamber and thimble inspection - the geometry of the smoke chamber, plus the thimble where a stove pipe enters, are prime creosote collection points inaccessible without proper tools.
- Level 2 camera-scan inspection - this is the NFPA 211 standard we’ve worked to since 2009, where the camera goes down the full flue length and documents everything on video and stills. It’s the difference between “looks good from the top” and “documented clear.”
If you’re reasonably handy and safety-conscious, you can do the visual checks above and catch obvious problems. But the camera sees what you can’t, and the camera tells you what’s actually in your flue. For a Greenwich homeowner who wants to burn with confidence, the right rhythm is: do your visual checks seasonally, and have a professional camera inspection annually.
Common Mistakes to Avoid
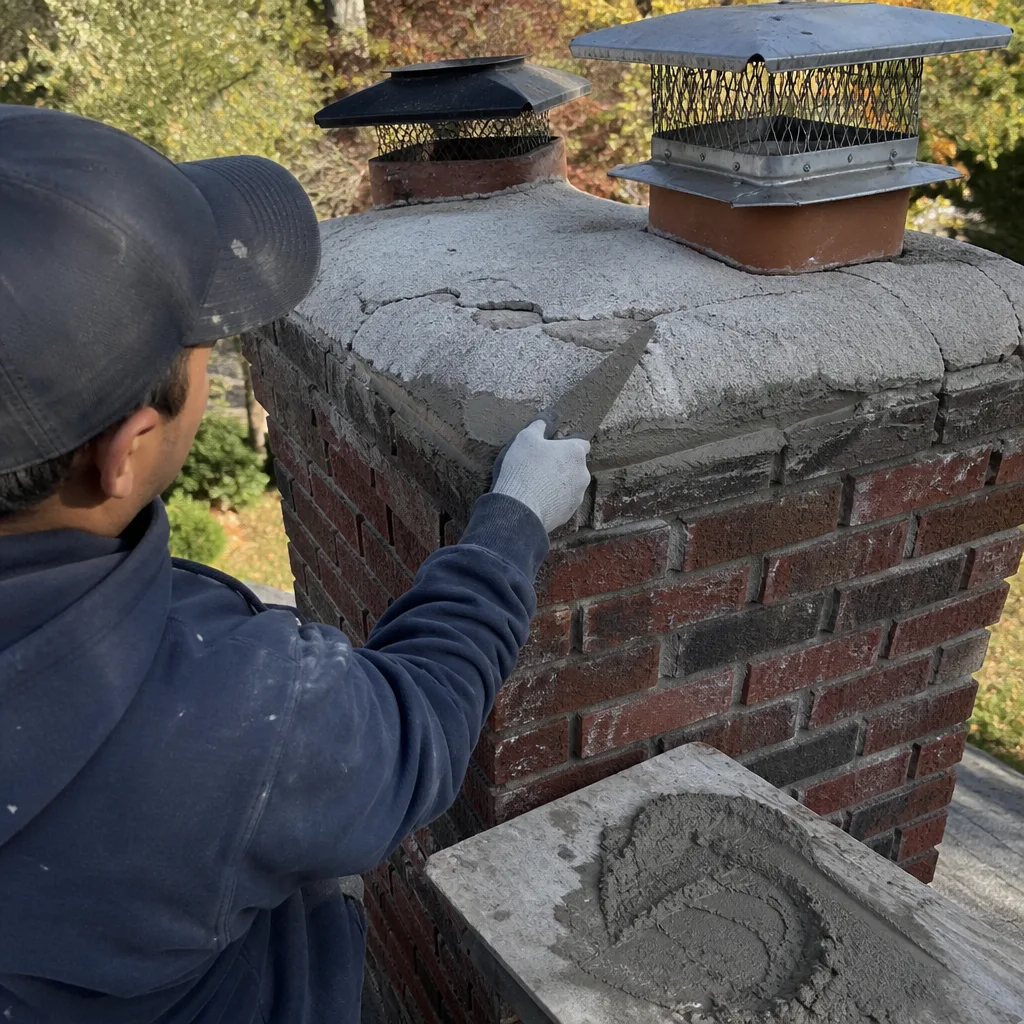
- Trusting a hand-brush cleaning as sufficient. In older Greenwich chimneys with years of use, a hand brush removes Class I superficially and leaves Class II and Class III untouched. If the sweep didn’t bring a camera, you’re paying for reassurance, not maintenance.
- Skipping the post-storm exterior check. We see homeowners in Old Greenwich who schedule their annual sweep in August and never look at the chimney after a nor’easter in March. The storm did the damage in the spring; the summer rains made it worse; the August sweep found a problem that a $200 cap repair in April would have prevented.
- Burning construction scraps or pine as primary fuel. Pine and scrap wood create high-resin, fast-accumulating creosote. In Greenwich’s older homes, this is how chimneys go from clean to glaze-stage in a matter of weeks. Burn seasoned hardwood, and if you burn pine, accept that you need more frequent inspection.
- Assuming a new house means a trouble-free chimney. Builders grade flue liners can be undersized, misaligned, or improperly mortared. We’ve done fireplace services in Greenwich on homes built in 2020 where the liner had failed within three years. New doesn’t mean right; it means not yet inspected.
- Deferring a liner replacement because “the chimney still works.” A cracked liner can function for years while leaking carbon monoxide into wall cavities. The symptom isn’t always a cold room or visible smoke. If a camera inspection shows liner gaps, the repair isn’t optional - it’s the difference between a fireplace and a poison delivery system.
- Not keeping your own documentation. If you don’t have a photo set and written reports from previous years, you’re deciding blind. A real maintenance plan is a documentation archive, not a subscription service.
- Closing the damper too soon after a fire. Wood embers can smolder for hours. Closing a damper while coals are still active sends carbon monoxide into the house instead of up the flue. Wait until the fire is fully out and the embers are gray before closing the damper.
When to Call a Professional
Call a professional when any of these conditions appear: visible spalling, a cracked or missing cap, mortar joints that crumble when probed, a damper that sticks or won’t seal, smoke roll-out into the room, a chemical or campfire smell that persists when the fireplace is cold, water staining around the chimney chase on any ceiling, or a camera inspection that shows Class II or Class III creosote. If you’ve changed houses, if the house is new to you, or if you’ve never seen a camera-scan inspection of your flue, that’s also a call. Level Two Chimney Greenwich home service covers all of Greenwich, and every visit includes a written price before work starts, a documented photo record on completion, and the 365-Day Done Right Promise: if it’s not done right, we make it right. We offer free estimates to Greenwich homeowners - call (516) 399-5497 and have your chimney on the record before the next burn season starts.
Frequently Asked Questions
A standard Chimney Cleaning & Sweep services visit in Greenwich typically runs between $189 and $350 for a single flue with an accessible roof, with additional costs if the chimney is particularly tall, has a severe creosote buildup, or requires a roof-access setup. The price should be given in writing before work starts, with the scope defined so you know exactly what’s included. We never operate on a “call for a quote” model - we provide written pricing, written scope, and written warranty before anyone starts. Call (516) 399-5497 for a free estimate and we’ll send a written price to review.
Once per year at minimum, before the burn season starts. If you burn more than two cords of wood annually, add a mid-season check around February. Homes near the coast or in older neighborhoods with established trees may also need a post-storm exterior check after any significant wind event. The schedule is driven by cord volume and creosote class, not by calendar date alone.
You should never accept a liner replacement recommendation that isn’t backed by camera footage showing the defect. A cracked or separated clay liner shows up clearly on a camera scan, and you should be able to see the exact location and extent of damage in the photo set. If a company recommends a $4,000 liner replacement but can’t show you the crack, get a second opinion. Our Free Second Opinion on any written estimate is available for exactly this situation: bring us a competitor’s quote and we’ll do a camera-scan inspection and give you our written assessment.
One skipped year with moderate burning is often recoverable, but it depends entirely on what’s in the flue. If skipping a year allowed Class II or Class III creosote to accumulate, the next cleaning is more involved and more expensive. If moisture entered through a cap or crown in the skipped year, you’ve accelerated masonry deterioration that continues silently. For Greenwich homes, the bigger risk is skipping the post-season inspection in the freeze-thaw window - that missed observation is where five-figure masonry problems start.
Mechanical chimney cleaning from the roof is not a safe DIY project for most homeowners, especially in Greenwich where roof pitches are steep and chimney heights are significant. The brush-through-the-firebox method leaves creosote residue that settles back down, and it gives no documentation of the true flue condition. A professional camera-scan inspection after cleaning is the only way to verify the flue is clear. If you want the confidence of knowing what’s in your chimney, let a professional with a camera do it, then ask for the photo set.
Yes, and the reason is biological as much as chemical. Occasional-use fireplaces accumulate creosote slowly from combustion, but they also create ideal nesting conditions for animals and birds during long idle periods. A chimney that sat unused from May to October in Greenwich may have acquired a squirrel nest or bird block in that time. Occasional use also means moisture sits longer after rain events, and that moisture mixes with whatever creosote has accumulated to form acidic residues that corrode mortar and metal. Annual inspection catches all of this before you light the first fire.
The Bottom Line
A real chimney maintenance checklist - like the one detailed in The Complete Guide to Chimney Cleaning in Greenwich - is built on measurable pass/fail conditions, not calendar reminders. Greenwich homeowners need to verify cap integrity, crown condition, damper movement, and fastener security at the top of every burn season; check creosote depth mid-winter if burning more than two cords; walk the exterior after any named storm; and close out in April with a documented post-season inspection done while freeze-thaw cracks are still visible. Every visit should leave you with a written condition report, a photo set, and a written price for any recommended work. That’s the standard we’ve held at Level Two Chimney Greenwich since 2009 - 38,000 chimneys inspected and cleaned, every one documented. If you’re ready to get your chimney on the record, call (516) 399-5497 and we’ll put it in writing.
Written by Corrine Halstead, Owner at Level Two Chimney Greenwich, serving Greenwich since 2009.